Your Cart is Empty


Do you want to immortalize an old concert t-shirt without wearing it? Here, we will walk you through how to make t-shirt pillows to keep your clothes alive for longer.
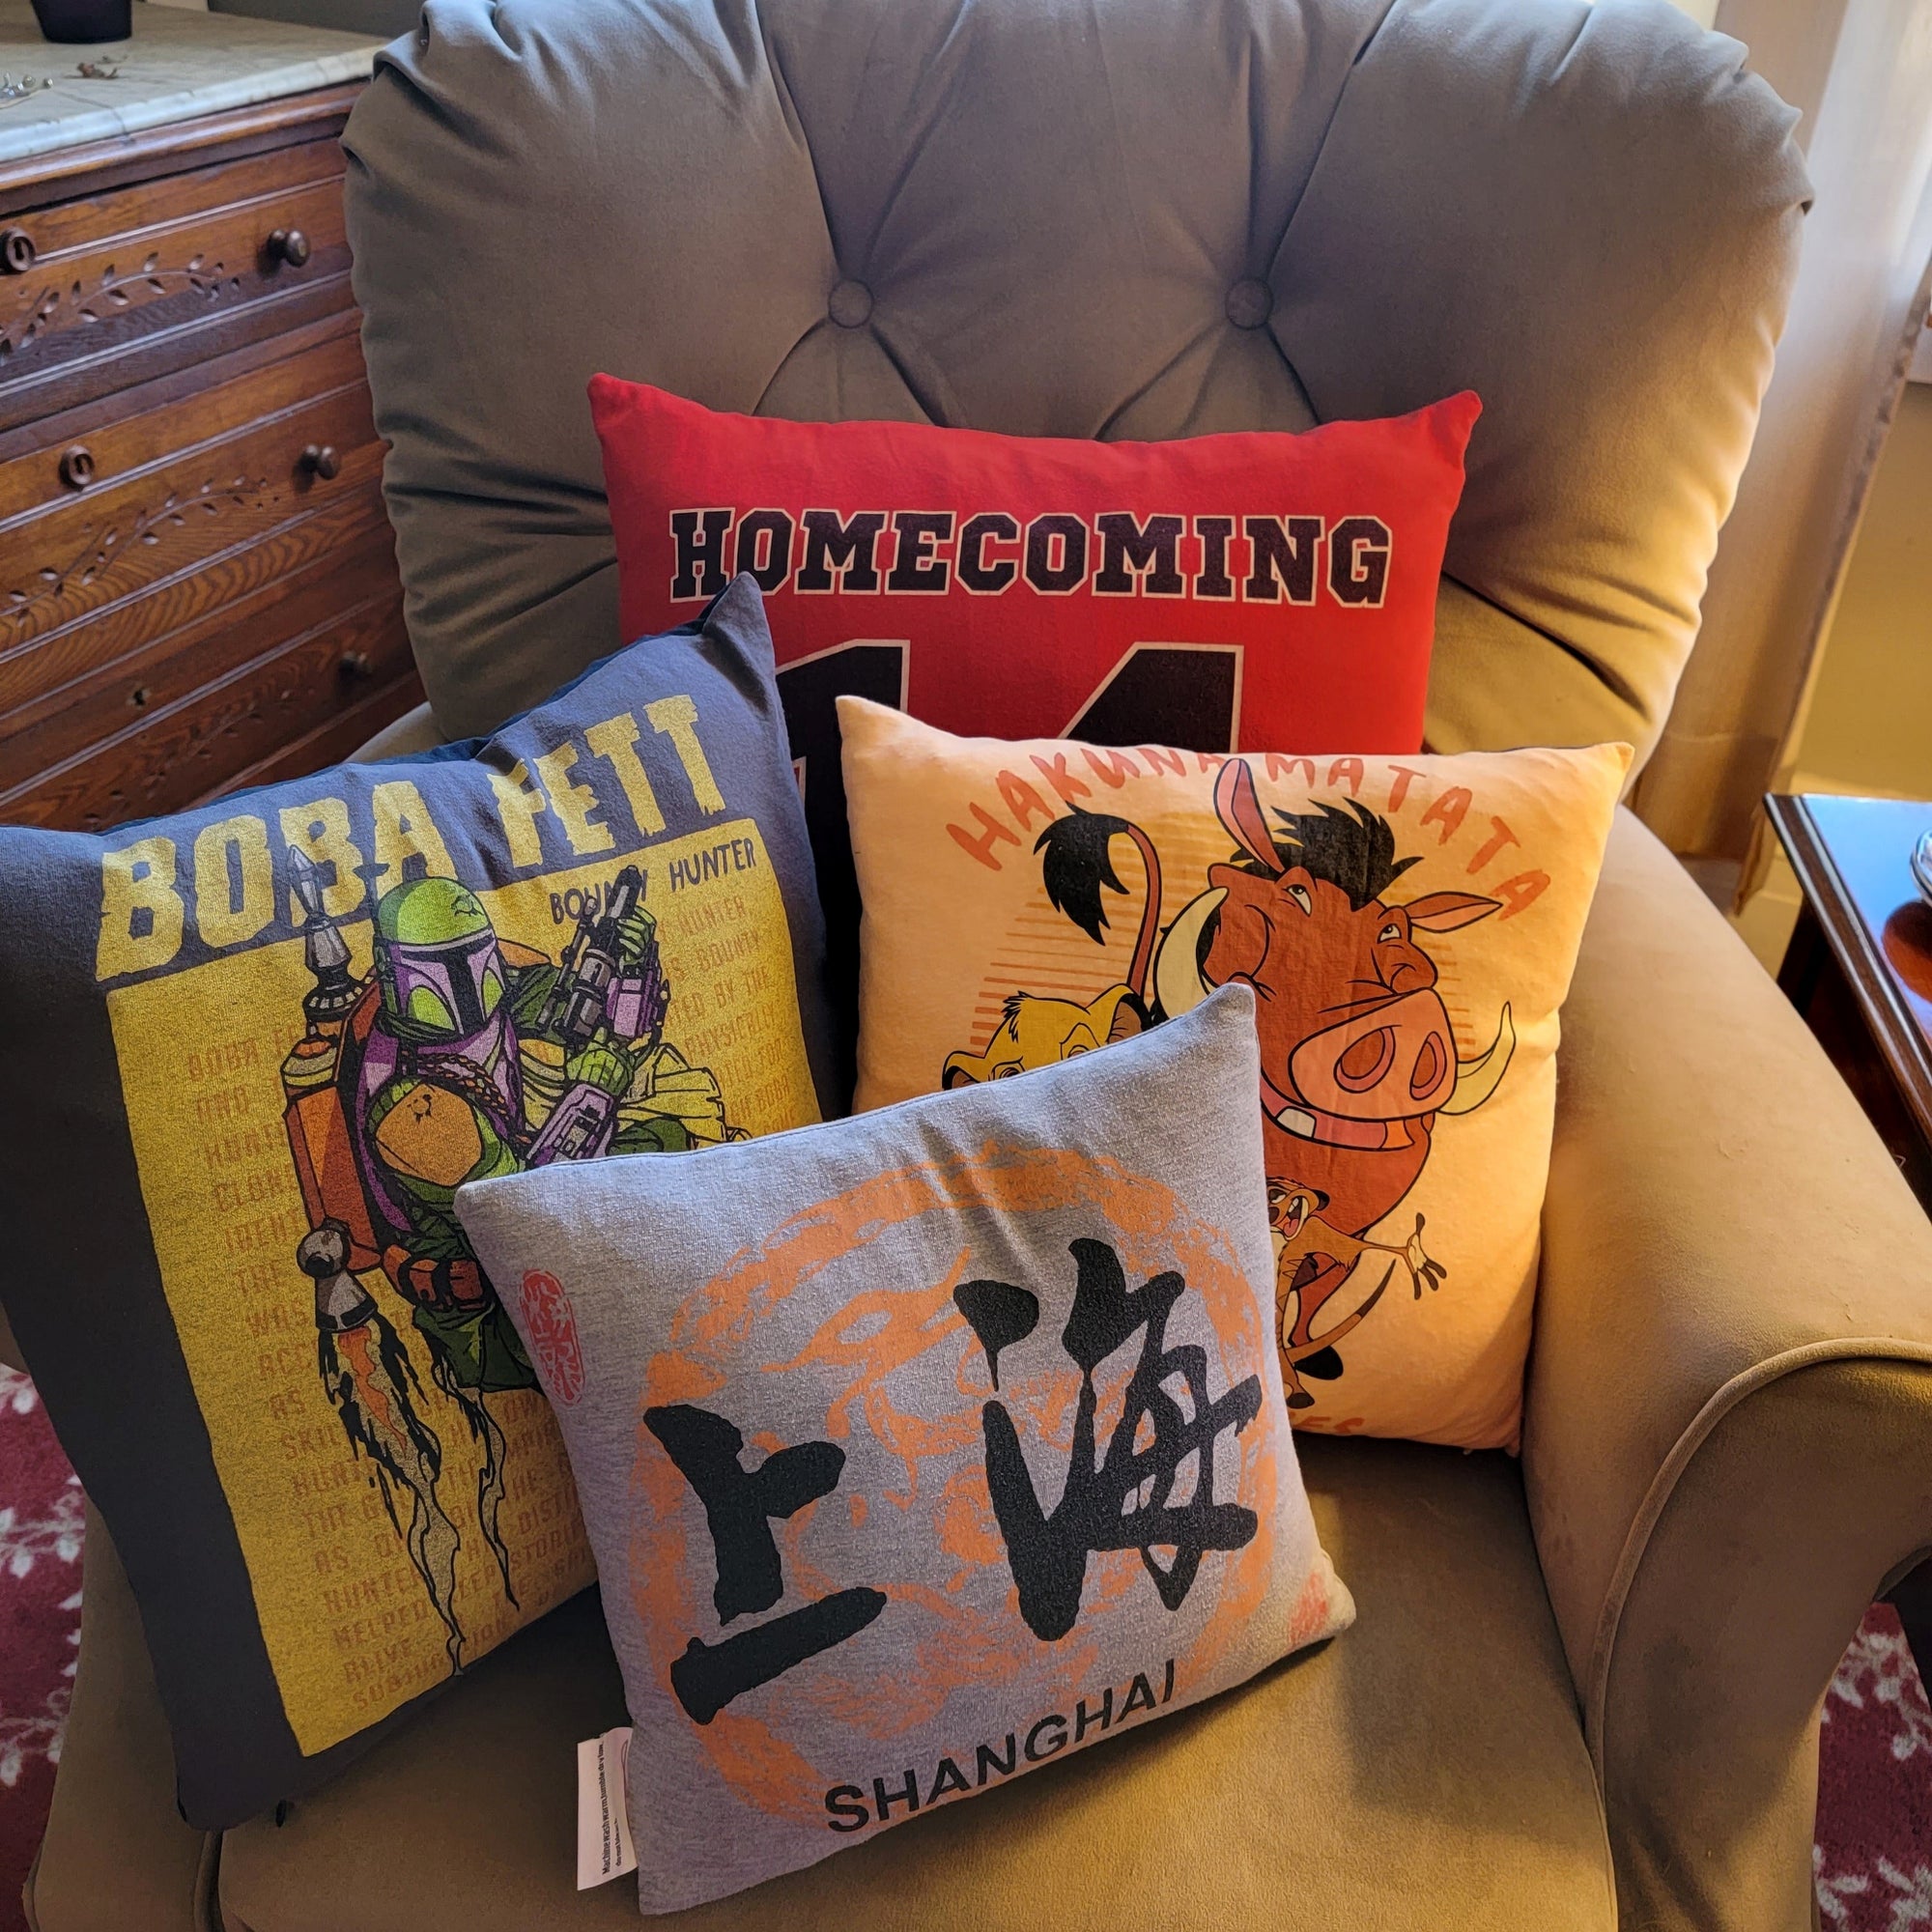
Have you ever been to someone’s home and seen a pillow that was truly unique?
In some cases, these can be ordered online but if you are looking for a fun craft to do with kids or teenagers, then why not make a t-shirt pillow? This is not as hard as you think, and you don’t need the skills of a seamstress. All you need is a t-shirt that you want to keep (without wearing it) and some imagination to make your ideal t-shirt pillow come to life.
Here, you will be guided through creating t-shirt pillows with a vintage twist in simple-to-follow steps. So, read on to learn more about this trending craft!
Why Create a T-Shirt Pillow?
There are many reasons why you may want to create a t-shirt pillow, The first, and most obvious is that you used to have a t-shirt that fitted you, but you have outgrown it. However, you don’t want to throw it away so, the solution is to making some t-shirt pillows!
Or perhaps the piece of clothing is precious for another reason. Perhaps it belonged to a baby who is now grown, or even a dog or cat who has since passed away. These are also great ways to keep these memories alive, without causing unnecessary clutter.
What is Meant by Vintage?
Vintage pillows are hard to define, as they can mean anything from an image in the middle of the pillow with a black background, all the way to a pillow that has tassels or embellishments. After all, what does the word vintage mean?
So, our advice is to look into the kind of vintage pillow design that you want to make in keeping with your home’s aesthetic. If you are making the pillow case as a gift for someone who likes pillows to be faded, then we advise that you try to fade the design first, using baking soda and a hot wash.
What You Will Need
When you have the idea of the shape and design you want to make, you will need to ensure that you have all of the correct materials available to help to bring your vision to life. If you are making t-shirt pillows or a t-shirt blanket with children, make sure that they are supervised at all times, especially when using scissors.
The project itself is not long-winded and, when you get the knack of putting the pillows together, it should take no longer that an hour to make one. Great!
Here are some of the tools that we recommend you get for making the t-shirt pillows.
How To Make the Pillow
As we mentioned before, it may seem hard to make a pillow from an old t-shirt, but it is really straightforward and is an ideal task to do with kids to keep them occupied on a rainy day.
So, here is what you need to do.
Step 1
Look through your wardrobe or pre-chosen selection of t-shirts and choose the one that holds special memories for you. If the t-shirt has some tears, try to repair them before making it into a pillow. Try to make sure the t-shirt is of high quality, or you may end up with a poor-looking pillow.
Put the t-shirt in the dryer for around 10 minutes to make sure you get all the wrinkles out. If the t-shirt is dirty or grubby, wash and dry it.
Step 2
Consider the shape of the pillow you want to make. For beginners, we recommend make a square or rectangular pillow. Take measurements with your measuring tape on the inside of the t-shirt.
Step 3
Using the measuring tape, transfer the measurements onto a sheet of paper. Then cut out the shape. This is now your pattern and can be a template for future pillows, if you choose to make another t-shirt pillow in the future.
Step 4
Place the template on to the t-shirt and hold it in place using straight pins. Make sure the pins are in parallel positions, so you can cut around them with ease.
Step 5
Cut out the two shapes of fabric and remove the pins. If your cut was neat, you will have two pieces of identically sized material to use for your pillow.
Step 6
Turn the fabric squares inside out and use straight pins to hold the edges together. Make sure that you place the pins perpendicular to the edge, as this will allow the sewing machine to run over the pins without issue.
Step 7
Now, you need to thread your sewing machine. We always ensure that the thread we use is the same color as the t-shirt but, if you want the stitches to be visible, then use a brighter or bolder color. Start sewing at one corner, along the inner edge and try to leave a ¼ inch border.
Step 8
Once you have sewn one edge, sew two more edges, until you have one side left open. This will be the edge that you use to stuff the pillow. Now, turn the pillow right side out. At this stage, you will see the pillow form in front of your eyes!
Step 9
Start stuffing! Remember, you need to try and break up the stuffing to prevent it from clumping. Once you are happy that the pillow is stuffed, take a needle and the same-colored thread that you used before with your sewing machine. You can now hand-sew the remaining opening closed. Voila! You now have a really cool and really unique pillow for your living room or your bedroom.
Note-If you want to add tassels or a hem, do so after you have sewn the pillow together. We recommend hand-sewing these adornments on, rather than using a sewing machine.


Leave a comment
Comments will be approved before showing up.