Your Cart is Empty
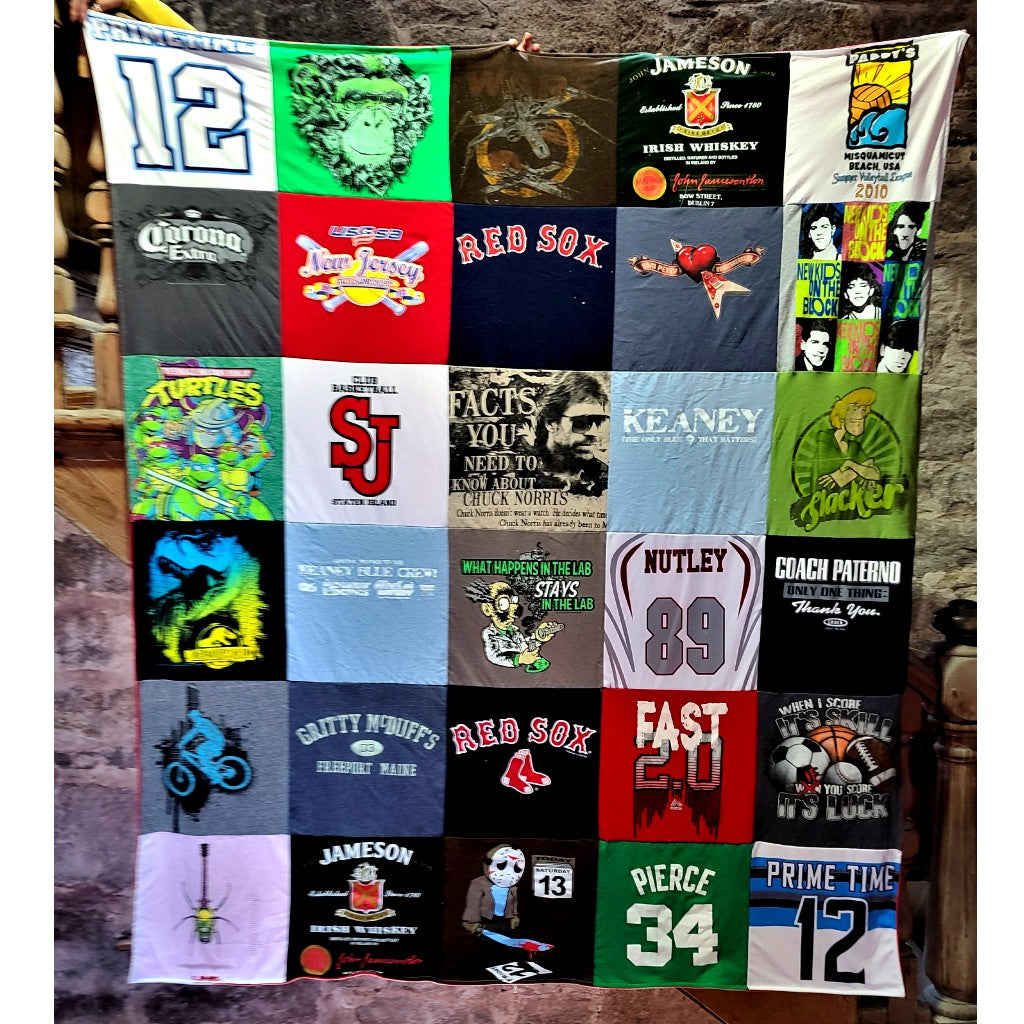
Want to create a graduation gift with a difference? Discover how to create a high school t-shirt blanket in just eight simple steps here.
Whether you want to create a long-lasting keepsake to commemorate your child’s high school years or you are looking for a graduation gift that will embody high school spirit, a shirt blanket is a great low-cost option that your high school graduate will cherish for many years to come.
If you are worried about taking on a DIY project of this magnitude, then you needn’t be. Within the below step by step guide, you will discover everything you need to know and exactly what you need to do to preserve memories in the form a unique, cozy t-shirt blanket. From how to prepare their school t-shirts, to the best patterns, to how to make the blanket super soft, it is all covered below in an easy to follow format, with only the most basic tools required.
This initial step can be easier said than done depending on how organized your teenager is but common places you may find missing t-shirts include:
If you do need to ask your child where a certain t-shirt is, try and be as subtle as possible as not to arouse suspicion. You want your blanket to be a complete surprise.
You will also need:
Depending on whether you want to include t-shirts from when they were born right up until the present day, or you are happy to use school t-shirts, you may have to make more than one blanket.
Alternatively, you could make one massive memory blanket if you have the time and the patience to do so.
Below is a rough guide of how many t-shirts you will need to make different sized blankets:
Lap blanket = 16 t-shirts
Twin blanket = 24 t-shirts
Full blanket = 30 t-shirts
Queen blanket = 50 t-shirts
King blanket = 64 t-shirts
Of course, if you are using smaller t-shirts from when your child was younger, you may need more than the above to create a blanket in your desired size.
Start by separating the front of your t-shirts by cutting the t-shirts along the side seams. You can choose to remove the sleeves or cut under the arm, depending on the shape that you want to make.
You then need to make sure that the graphic or image on the t-shirt is in the middle of your squares. This can be measured using a lightweight piece of cardboard as a template.
Cut 8-16 inch squares out of all your chosen t-shirts as accurately and neatly as possible, it is always better to leave a little extra around the edge for sewing later.
Cut your chosen fusible interfacing into 8-16 inch matching squares and carefully iron it on to your squares of the t-shirt. Make sure that your squares are neither distorted nor stretched as this will result in an inferior finish.
Hold the iron down for around 10 seconds to ensure that it fuses the squares and interfacing together and always iron the interfacing not the fabric, focusing on the corners as this is where you will peel off the backing paper.
Now that all your t-shirt squares are stabilized and cut, it is now time for you to decide upon the layout of your shirt blanket. A quick Google search will bring up lots of ideas and you can choose to take inspiration from these or simply try good old trial and error to see what looks best.
That being said, as a general rule, you do not want to place too many t-shirts of the same color next to each other as this can make your block look chaotic and unbalanced.
You can play about with your layout for as long as it takes for you to be happy with how your shirt blanket is going to look. It is much easier to make changes at this stage rather than when you start sewing.
Now it’s time to sew! Even if you have experience in sewing, quilting designs sewing projects can be notoriously tricky. However, that does not mean you cannot do it. You need to be patient and willing to take your time to get it right.
The easiest way to assemble your memory blanket is to sew the blocks together in rows, trimming where necessary to make sure the top and bottom of your blanket are parallel and then attaching the rows horizontally.
Alternatively, if you are looking for a bit more of a challenge, you should choose to add sashing to each square. This can not only increase the size of your blanket (great if you lack in t-shirts), but it can also help tie the theme together.
If you want your blanket to be soft and snuggly, then this step is essential. Your first step is to fuse the top to the batting using your iron on either a wool or cotton setting.
You then need to attach your backing. The simplest way to do this is with an adhesive spray. Take your time with this process to prevent bubbles and/or bagginess.
The simplest way to finish off your shirt blanket is with the stitch-in-the ditch technique that is carried out using a sewing machine.
Alternatively, you can use a technique known as stippling. This technique also requires a sewing machine.
Congratulations! You have now made your very first high school t-shirt blanket. You should be proud of yourself and have a wonderful graduation gift ready for someone special! Don’t forget, you can seek the help of a t-shirt blanket company to create a gift celebrating your high school or college graduate.
Comments will be approved before showing up.
